


Winter is the season that forgives cyclists the least. Between wet roads, temperatures hovering around zero, and shoulders littered with gravel, flint, and thorns washed by rain, riding with your ultra-smooth summer tires quickly becomes a risky bet.
To keep accumulating kilometers safely – and without spending your time on the roadside with frozen hands fixing a flat – switching to specific "4-season" or "winter" tires is essential. Here are the key criteria to make the right choice and avoid having to buy new shorts or a jersey after every ride.
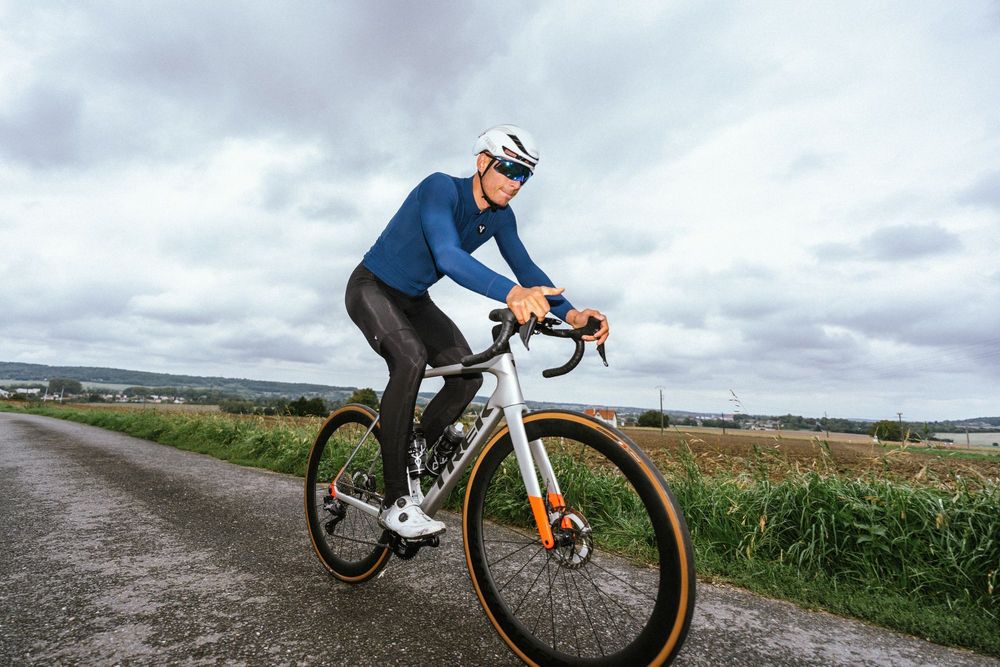
Puncture resistance: a matter of layers and technologies
In winter, rainwater acts as a natural lubricant. A piece of flint that would simply have bounced off dry rubber in summer will, under the rain, sneak in and cut the rubber until it punctures the inner tube.
To counter this, a winter tire is a true multilayer armor. It's not just about thickening the rubber, but integrating high-tech textile shields into it:
- Reinforcements under the tread: Manufacturers insert ultra-dense protective strips. At Continental, it's Vectran™ (a synthetic fiber like spider silk, stronger than steel but extremely light). At Michelin, they use Aramid (Kevlar), and at Schwalbe, the underlayer V-Guard or SmartGuard.
- Bead-to-Bead protection: Punctures don't only come from the front. The sidewalls of tires are particularly vulnerable to lateral cuts caused by debris. Good winter tires incorporate sidewall protection, like the famous DuraSkin grid (recognizable by its brown/reddish color) at Continental, or the TechWALL+ carcass at Pirelli.
The trade-off: These extra layers stiffen the tire carcass and increase its weight (count between 280g and 350g per tire versus 220g for a summer tire). You lose some agility, but you gain thousands of kilometers of peace of mind.
The rubber chemistry: the secret to grip in cold weather
This is the most common misunderstanding in road cycling: thinking that to not slip in winter, you need tires with lots of treads (patterns). It’s false. On a 25 to 30 mm road tire inflated at high pressure, aquaplaning is physically impossible at speeds reached by a cyclist.
The real secret to grip lies in the rubber compound chemistry. Summer tires use hard rubber (to minimize rolling resistance). The problem? Below 7°C, this rubber stiffens. It becomes hard like plastic and no longer molds to the micro-roughness of the pavement. Sliding is guaranteed on wet roundabouts.
Winter tires use rubbers enriched with Silica or specific compounds (like Michelin’s Magi-X or Schwalbe’s Addix 4-Season). These rubbers remain soft, elastic, and “sticky” even at negative temperatures. As for the side treads on the tire, they have a minor water evacuation role but mainly serve as a tactile indicator: by deforming in corners, they warn you of the grip limit before losing traction.
Width and Pressure: Wider, lower, safer
The current trend is towards wider tires, and it's in winter that this evolution makes all the sense. If your frame (and your calipers if you're using rim brakes) allow it, ditch the 25 mm to go to 28 mm, 30 mm, or even 32 mm.
Why? Because a bigger tire holds more air, allowing you to drastically lower the pressure (often between 4 and 5.5 bars, compared to 6 to 8 bars for narrow tires).
- Contact patch: A less inflated tire flattens slightly more. The rubber surface in contact with the ground lengthens, greatly increasing grip during braking and cornering.
- Shock absorption: Winter roads are often degraded (cracks, potholes due to freezing). A wide tire at low pressure will absorb these shocks instead of bouncing. Your bike keeps its line and you save a lot of muscular fatigue.
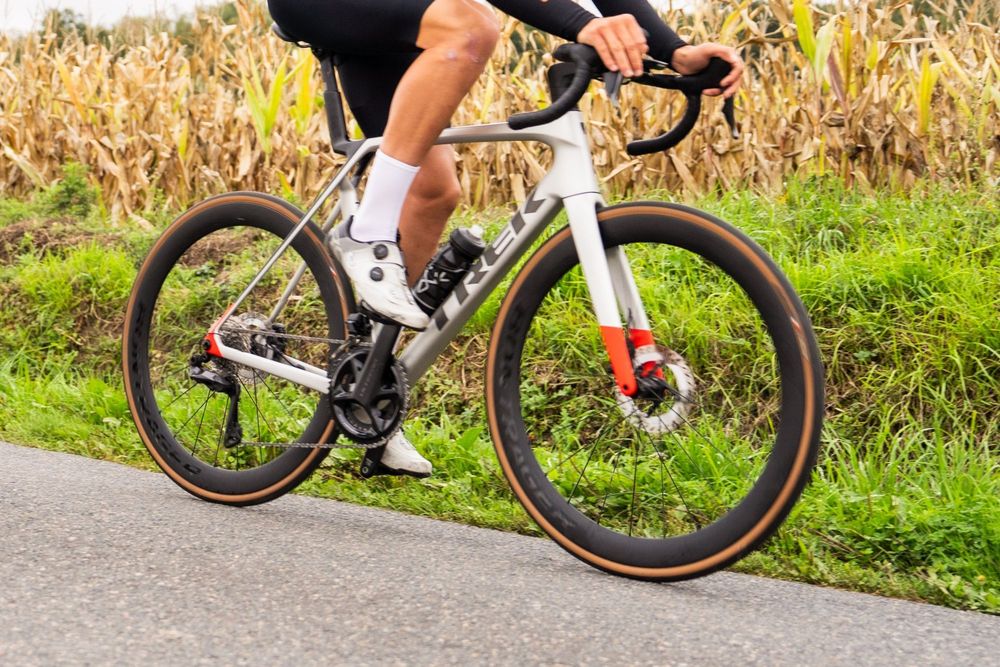
Tubeless or Inner Tubes: which strategy to choose?
While Tubeless (a system without inner tube with preventive liquid) is often presented as the ultimate weapon, it is far from unanimous and not essential to getting through a good winter. Here’s how to choose depending on your profile:
The Tubeless approach (For low-pressure enthusiasts)
The preventive liquid instantly seals small punctures (flints, thorns) without even stopping you. The absence of an inner tube also eliminates the risk of pinch flats (when hitting a pothole).
- The downside: Installation can be tricky (tire burst, sealing). Above all, if you suffer a big cut that the sealant can’t plug, inserting an inner tube into a tire full of sticky, icy liquid on the roadside at 2°C is a nightmare experience.
Some tubeless winter tire models that are unanimously praised in winter pelotons:
Pirelli Cinturato EVO TLR 700 mm Road Tire Tubeless Ready Foldable TechWall+ Road SmartEVO AS
From €54.99
Continental Grand Prix 5000 All Season 700 mm Tubeless Ready Road Tire Soft Vectran LazerGrip ACT BlackChili Cream
From €64.99
The Classic Inner Tube Approach (For Absolute Simplicity)
Many cyclists (including professionals in training) prefer the combination of an ultra-puncture-resistant winter tire with a good old inner tube. It's clean, mechanical, and easy to fix in any situation.
- Which inner tube to choose in winter? Forget latex tubes (which deflate quickly and are fragile). Opt for good classic Butyl tubes (robust, excellent air retention). The new TPU tubes (like Tubolito or Aerothan) are very light and surprisingly puncture resistant, but their high price (25-30€) might hold you back if the roads around you are real minefields.
A few of the most used tubetype winter tire models on the market:
Vittoria Zaffiro EVO 700 mm Road Tire, Tubetype, Soft, Graphene, Beige Sidewalls
From €23.99
Don’t push your tires to the limit. In winter, a worn tire (with a tread that has flattened) loses 80% of its puncture resistance. Investing in a good pair of 4-season tires starting in November is the best insurance to enjoy your winter rides.
A little doubt about how to change your tubeless tire? Follow our tutorial:

Redac
Author
The Alltricks editorial team: passionate experts sharing blog tests and advice on running (10k to marathon), trail, outdoor activities, and of course, all types of cycling.
View his articles


